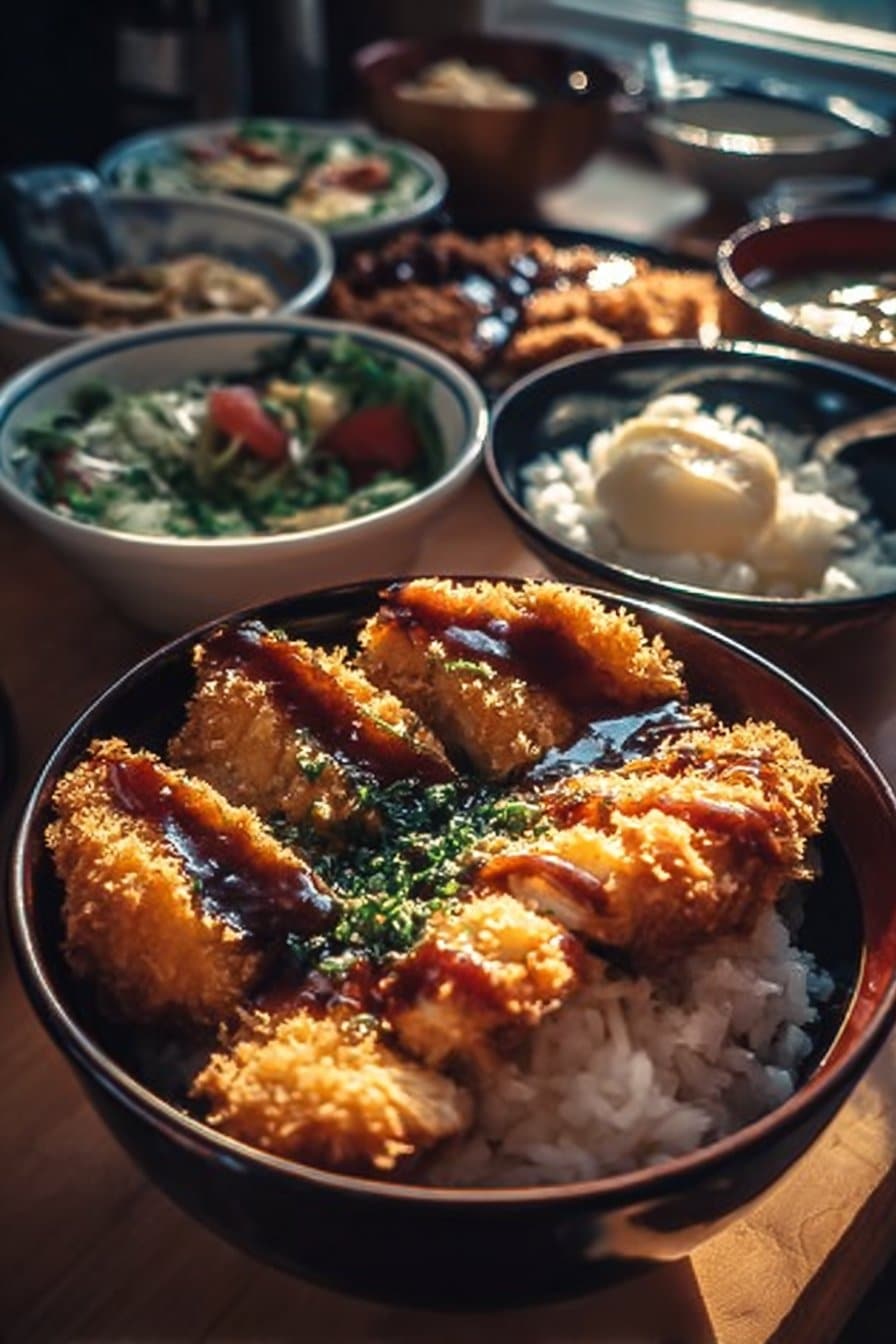
Cozy Japanese Katsu Bowls: A Comforting, Family-Friendly Delight
There’s something so utterly comforting about a bowl of Japanese Katsu. When the golden, crispy coating meets the tender, juicy meat, it’s like a warm embrace after a long day. I fondly remember the first time I experienced a Katsu bowl; it was a chilly evening, and the cozy aroma of frying cutlets mingled with hints of rice steaming away in the background. As the sun set, our laughter filled the kitchen, and we eagerly awaited the moment when that crispy cutlet would slide over freshly cooked rice, drizzled with rich, tangy tonkatsu sauce. Each bite was a reminder that sometimes, comfort comes not just from food, but from the memories we create around it.
Why You’ll Love This Recipe
These Cozy Japanese Katsu Bowls are not just a feast for the taste buds; they’re an experience. You’ll fall in love with how simple it is to whip up this delicious meal that transforms your weeknight dinner into something extraordinary. The satisfying crunch of the panko breadcrumbs, combined with the luscious flavor of perfectly seasoned meat, makes every bite a celebration. Plus, this family-friendly recipe is adaptable to your needs and preferences, ensuring everyone finds joy in their bowl.
Ingredients for Japanese Katsu Bowls
Here’s what you’ll need to create your own comforting Katsu bowl:
- Beef, chicken thigh, or venison cutlets (about 1 pound)
- Panko breadcrumbs (1 cup)
- Egg (1, beaten)
- All-purpose flour (1 cup)
- Tonkatsu sauce (to taste)
- Cooked rice (for serving, about 2 cups)
- Salt (to taste)
- Pepper (to taste)
- Vegetable oil (for frying, about 1 cup)
Ingredient Notes
- Meat Options: Feel free to use chicken thighs for a juicier cut or go for beef or venison for a different flavor twist. Adjust cooking times as necessary for the different types of meat.
- Panko Breadcrumbs: These Japanese-style breadcrumbs add an incredible crunch. If you’re looking for a healthier option, you can also use whole wheat panko.
- Tonkatsu Sauce: This special sauce gives Katsu its distinct flavor. If you don’t have any, you can make a quick homemade version using ketchup, Worcestershire sauce, and a touch of soy sauce.
How to Make It
Step 1 – Prepare the Rice
Start by cooking the rice according to the package instructions. It’s essential to get this step right, as a fluffy, perfectly cooked rice base sets the stage for your fabulous Katsu bowl. While cooking, the delightful, nutty aroma will start to waft through your kitchen, creating an inviting atmosphere.
Step 2 – Season and Prepare the Cutlets
While the rice cooks, season your chosen meat cutlets with salt and pepper. This simple step enhances the natural flavors of the meat, ensuring you enjoy every single bite.
Next, set up your breading station! Place the flour, beaten egg, and panko breadcrumbs into separate shallow bowls. This will make the breading process a breeze and, believe me, it’s a fun step that can involve the whole family.
Step 3 – Breading and Frying
Now for the fun part! Dredge each cutlet in flour, giving it a gentle shake to remove any excess. Then, dip it into the beaten egg, allowing the creamy coating to adhere beautifully. Finally, coat the cutlet in panko breadcrumbs, pressing gently to ensure a good layer sticks.
Heat vegetable oil in a skillet over medium heat. You want enough oil to cover the bottom of the pan, allowing for even frying. Once hot (test by dropping a panko crumb in – if it sizzles, it’s ready), add the breaded cutlets to the pan. Fry until golden brown and cooked through, about 4-5 minutes on each side. The crispiness of the breading will make your mouth water!
Once done, remove the cutlets from the pan and let them drain on paper towels to absorb any excess oil. Slice your cutlets and prepare to serve them over the fluffy rice, drizzled generously with tonkatsu sauce.
Tips for Success
- Temperature Check: If using chicken, ensure that it’s fully cooked (165°F) by using a meat thermometer. This way, you’ll have peace of mind knowing your meal is safe and delicious.
- Breading Mastery: Don’t rush your breading process. A generous coating leads to that desired crunch!
- Oil Management: Keep an eye on the oil temperature. If it’s too hot, the coating may burn before the meat cooks through; too low, and it may become greasy.
Recipe Variations
- Vegetarian Katsu: Swap the meat for thick slices of eggplant or zucchini, breaded and fried for a delicious veggie version.
- Curry Katsu Bowl: Drizzle with a homemade or store-bought curry sauce for an aromatic twist.
- Spicy Katsu: Add a sprinkle of cayenne or paprika to your flour for a bit of a kick and serve with a spicy mayonnaise on the side.
- Katsu Salad Bowl: Serve breaded cutlets over a bed of greens with julienned vegetables for a fresh and crunchy meal.
- Wok-fried Katsu Bowl: After frying, toss your cutlets with stir-fried vegetables like broccoli and bell peppers for an Asian-inspired twist.
Serving Ideas
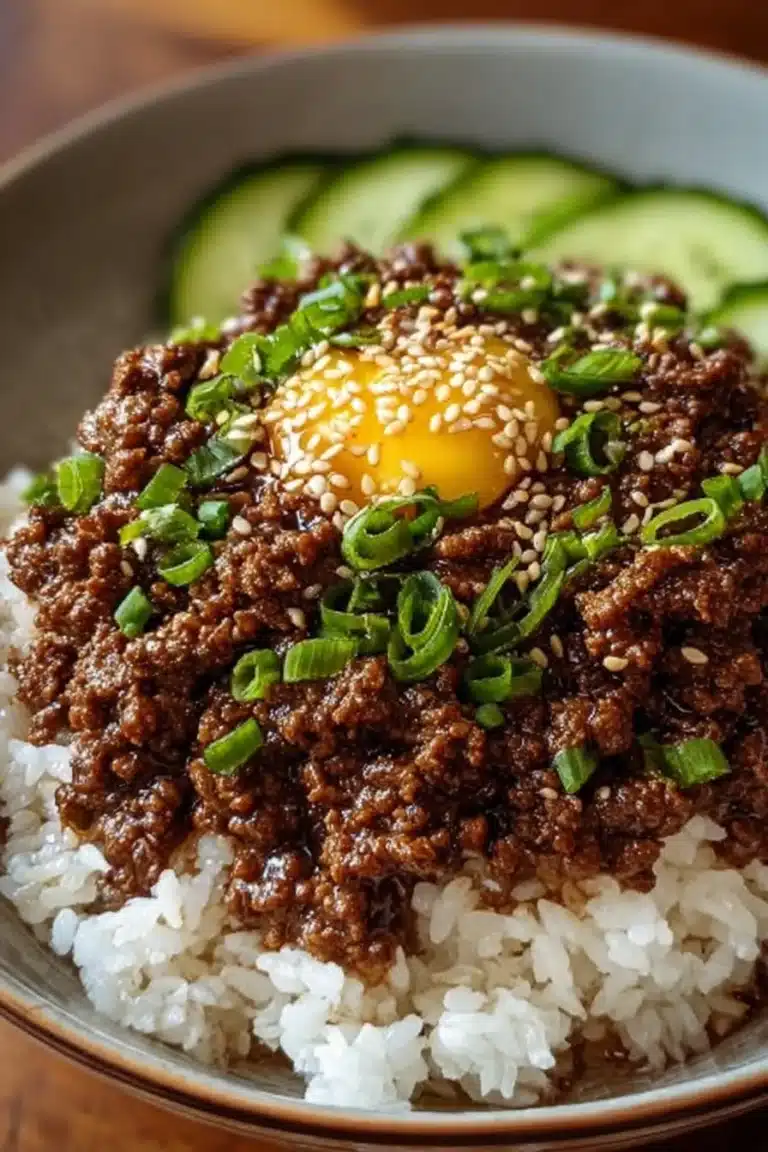
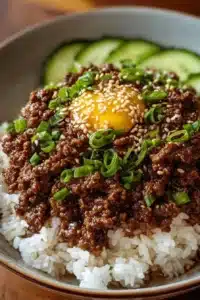
Enjoy your Katsu bowl with a side of pickled ginger or a fresh cucumber salad to cut through the richness. A sprinkle of sesame seeds and sliced green onions on top adds both flavor and visual appeal. You can also whip up some miso soup for a complete Japanese feast.
Storage and Freezing
If you have leftovers (which is rare with this recipe!), you can store the cutlets in an airtight container in the fridge for up to three days. Reheat in the oven for best results, ensuring they stay crispy. For longer storage, consider freezing the breaded cutlets (uncooked) for up to two months. Thaw and fry them fresh for a meal that feels just made, even on a busy weekday.
Nutrition Facts (per serving)
| Nutrient | Amount |
|—————–|———-|
| Calories | 500 |
| Protein | 30g |
| Carbs | 58g |
| Fat | 20g |
| Fiber | 2g |
| Sodium | 600mg |
FAQ About Japanese Katsu Bowls
Can I bake the cutlets instead of frying them?
Absolutely! For a healthier option, preheat your oven to 400°F (200°C). Place the breaded cutlets on a lined baking sheet and spray lightly with oil. Bake for about 20-25 minutes, flipping halfway through, until they are golden and cooked through.
What can I substitute for tonkatsu sauce?
If you don’t have tonkatsu sauce, a mixture of ketchup, soy sauce, and Worcestershire sauce can work in a pinch. Adjust the ratios to taste, and feel free to add a bit of honey or sugar for sweetness!
Is Katsu gluten-free?
Katsu can be made gluten-free by using gluten-free flour and panko breadcrumbs. Be sure to check the labels for any hidden gluten in your ingredients.
How do I get the coating extra crispy?
For an extra crispy coating, double-bread your cutlets by dipping them back in the egg and then back in the panko. This creates a thicker, crunchier crust that’s irresistible!
Can I use different types of meat?
Yes, you can use any kind of meat you like! Chicken, beef, and even fish can make delicious Katsu bowls. Just be sure to adjust cooking times depending on your choice!
In a Few Words
Cooking should be a joyful experience, a way to reconnect with family, and an opportunity to create delicious memories. These Cozy Japanese Katsu Bowls embody everything I love about home cooking: simplicity, flavor, and warmth. Whether you’re trying this for the first time or you’re a seasoned pro, I hope it brings you as much comfort as it has brought me.
Conclusion
As you dive into your bowl of Cozy Japanese Katsu, remember that each ingredient brings its own story to the table. From the chosen meat to the crunchy panko, every bite is not just about filling your stomach but about warming your heart. Share this meal with loved ones and enjoy the laughter and chatter that only a cozy dinner can bring. You’ll soon find that this recipe is more than just a meal; it’s a tradition waiting to happen in your home. Happy cooking!
Print
Cozy Japanese Katsu Bowls
- Total Time: 45 minutes
- Yield: 4 servings 1x
- Diet: Paleo
Description
A comforting and delicious bowl of crispy Katsu served over fluffy rice, drizzled with tangy tonkatsu sauce.
Ingredients
- 1 pound beef, chicken thigh, or venison cutlets
- 1 cup panko breadcrumbs
- 1 egg, beaten
- 1 cup all-purpose flour
- Tonkatsu sauce, to taste
- 2 cups cooked rice, for serving
- Salt, to taste
- Pepper, to taste
- 1 cup vegetable oil, for frying
Instructions
- Cook the rice according to package instructions.
- Season the cutlets with salt and pepper; set up a breading station with flour, beaten egg, and panko breadcrumbs.
- Dredge each cutlet in flour, dip in egg, and coat with panko breadcrumbs.
- Heat oil in a skillet over medium heat, fry cutlets until golden brown and cooked through, about 4-5 minutes per side.
- Remove cutlets, drain on paper towels, slice, and serve over rice drizzled with tonkatsu sauce.
Notes
For added crunch, double-bread the cutlets. You can make a vegetarian version using eggplant or zucchini.
- Prep Time: 15 minutes
- Cook Time: 30 minutes
- Category: Main Course
- Method: Frying
- Cuisine: Japanese
Nutrition
- Serving Size: 1 serving
- Calories: 500
- Sugar: 5g
- Sodium: 600mg
- Fat: 20g
- Saturated Fat: 3g
- Unsaturated Fat: 10g
- Trans Fat: 0g
- Carbohydrates: 58g
- Fiber: 2g
- Protein: 30g
- Cholesterol: 120mg
Keywords: Katsu, Japanese food, comfort food, family dinner