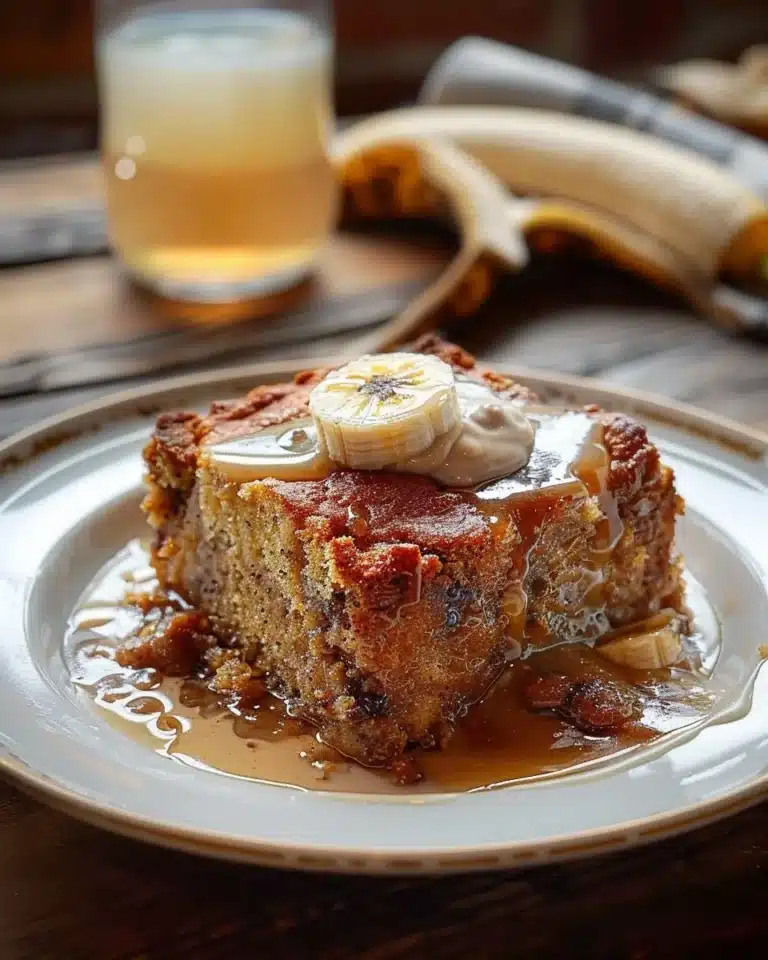
Creative & Cute Strawberry Shortcake Sushi Roll Dessert
In the delightful world of desserts, there’s something special about bringing creativity into the kitchen. I still remember the first time I made strawberry shortcake, the sweet aroma of freshly baked cake mingling with the vibrant scent of ripe strawberries. It was a warm afternoon, and my kids were bouncing around the kitchen, their laughter mixing playfully with the sounds of whisking and folding. Little did I know then that those simple moments would inspire the sweetest creations. Today, I’m excited to share a one-of-a-kind treat that combines the comforting flavors of strawberry shortcake with a playful twist: the Creative & Cute Strawberry Shortcake Sushi Roll Dessert. Imagine fluffy layers of cake, fresh strawberries, and creamy goodness all rolled into a fun sushi-style dessert. It’s a treat that not only looks impressive but tastes like a slice of summer rolled up in a bite!
Why You’ll Love This Recipe
This Strawberry Shortcake Sushi Roll is the perfect blend of elegance and fun. It’s a dish that can brighten any gathering, from birthday parties to family dinners. You’ll love how it showcases fresh strawberries, blended with smooth cream cheese and light whipped cream, creating a rich yet airy texture with every bite. This dessert is not just a visual feast; it’s a flavor explosion that combines sweet, creamy, and fruity notes in a joyous expression of comfort food. Plus, it’s easy to create, making it a stress-free option for busy cooks wanting to impress without going overboard.
Ingredients for Creative & Cute Strawberry Shortcake Sushi Roll Dessert Recipe
To whip up this delightful treat, gather the following ingredients:
- 1 sponge cake sheet (approx. 10 x 15 inches, homemade or store-bought)
- 8 ounces (225 g) cream cheese, softened
- ½ cup (60 g) powdered sugar
- 1 teaspoon (5 ml) vanilla extract
- 1 cup (240 ml) whipped cream
- 1 ½ cups (225 g) fresh strawberries, diced
- 3 tablespoons (45 g) strawberry preserves or jam
- Optional: white chocolate drizzle, extra whipped cream, mint leaves for garnish
Ingredient Notes
When making this dessert, you have a few options to make it even friendlier for your family. If you’re looking for alternatives, you can easily swap out the cream cheese for a lighter version, or even a non-dairy cream cheese if you’re catering to dietary preferences. Additionally, for those with different fruit on hand, feel free to swap strawberries with any seasonal fruit like peaches or blueberries. And if you’re watching sugar intake, reduce the amount of powdered sugar or use a sugar substitute that works for you.
How to Make It
Ready to dive into this scrumptious creation? Let’s roll!
Step 1 – Prepare the Sponge Cake
Start by laying your cooled sponge cake flat on a sheet of parchment paper or a rolling mat. This makes it easier to roll without sticking. If you’ve made your cake from scratch, let it sit long enough to cool completely, so it stays fluffy and rolls beautifully.
Step 2 – Make the Cream Filling
In a mixing bowl, beat together the softened cream cheese, powdered sugar, and vanilla extract until the mixture is smooth and creamy. This whipped cream cheese will be the star of the show! Once smooth, gently fold in the whipped cream, being careful not to deflate that lovely airiness. You want it to stay light and fluffy since this will create a light creamy filling that complements the cake.
Step 3 – Assembly
Now it’s time to bring everything together. Spread a layer of strawberry preserves evenly over the cooled sponge cake. Follow this with a generous layer of the cream cheese mixture, spreading it evenly to ensure every bite is filled with that creamy goodness. Sprinkle the diced strawberries on top, creating a beautiful fruit-filled layer that peeks out.
With everything in place, it’s time to roll! Starting from one short end, use the parchment paper to help you roll the cake tightly into a log. Be gentle but firm – the goal is to create a snug roll that holds its shape. Once rolled, chill the cake in the refrigerator for about 20–30 minutes to set.
When you’re ready to serve, use a sharp knife to slice the roll into 1-inch pieces. Arrange these delightful bites on a platter, drizzling with white chocolate if desired and garnishing with extra whipped cream or fresh mint leaves for a touch of color and freshness.
Tips for Success
- Ensure your sponge cake is completely cool before rolling – if it’s too warm, it might crack.
- When folding in the whipped cream, be gentle to maintain its lightness.
- Don’t skimp on chilling the roll; this helps the flavors meld and makes slicing easier.
- Experiment with flavors! Adding a splash of lemon juice can brighten up the filling or using flavored preserves can change up the taste entirely.
Recipe Variations
Looking to mix things up a bit? Here are some fun variations:
- Chocolate Version: Add cocoa powder to the cream mixture for a chocolatey treat, and pair with raspberries instead of strawberries.
- Tropical Twist: Use diced mango and coconut cream for a tropical take on this dessert.
- Nutty Delight: Add finely chopped nuts into the cream mixture for a lovely crunch.
- Cake Decorating: Use fruit purees to pour over the slices for a beautiful presentation.
- Mini Rolls: Make smaller versions of the rolls for individual servings; they make adorable bites at parties!
Serving Ideas
When it comes to serving, the options are endless! This strawberry shortcake sushi roll can stand alone as a beautiful dessert centerpiece or be served alongside fresh fruit and a dollop of whipped cream. For gatherings, consider creating a dessert bar where guests can customize their rolls with different drizzles, like chocolate or caramel sauce. They’ll adore making their own creations!
Storage and Freezing
To keep your dessert fresh, store any leftovers in an airtight container in the refrigerator for up to two days. It’s best enjoyed fresh, but if you want to prepare ahead, you can assemble it and freeze the whole log. Just make sure to wrap it tightly in plastic wrap and then foil. When you’re ready to enjoy, let it thaw in the fridge overnight before slicing.
Nutrition Facts (per serving)
| Calories | Protein | Carbs | Fat | Fiber | Sodium | |———-|———|——-|—–|——-|——–| | 150 | 2 g | 18 g | 7 g | 0 g | 50 mg |
FAQ About Creative & Cute Strawberry Shortcake Sushi Roll Dessert Recipe
Can I use store-bought cake?
Absolutely! A store-bought sponge cake saves time and can still lead to an impressive dessert. Just make sure to choose a high-quality one for the best taste.
How can I make this dessert gluten-free?
You can use a gluten-free sponge cake instead of traditional flour cake. The rest of the ingredients are naturally gluten-free, making it an easy swap.
What other fruits work well for this recipe?
Along with strawberries, other fruits like blueberries, raspberries, or kiwi provide a refreshing alternative. Choose fruit that complements the creamy filling!
Is this dessert suitable for a birthday celebration?
Definitely! This sushi roll dessert is an eye-catching cake alternative for birthdays. Kids (and adults alike) will love its unique presentation.
How long can I store leftovers?
The roll can be kept refrigerated for up to two days. After that, it’s best to enjoy it fresh for the best flavor and texture.
In a Few Words
Making moments in the kitchen is all about joy and connection. As you roll up this Creative & Cute Strawberry Shortcake Sushi Roll Dessert, you’re not just creating a sweet treat; you’re crafting memories to be cherished. With its light, fluffy textures and bursts of sweet strawberry flavor, it’s bound to become a favorite in your home—just as it has in mine.
Conclusion
So there you have it—a delicious and playful dessert that brings a touch of whimsy while offering comforting flavors. I hope this Creative & Cute Strawberry Shortcake Sushi Roll inspires your own kitchen adventures. May it bring smiles to family dinners and sweet moments to your gatherings. Don’t forget to share your creations; I can’t wait to see how you add your own twist to this delightful dish! Happy cooking, and enjoy every moment spent in your cozy kitchen!