Cozy Peanut Butter Blossom Bars: Simple Delight for Any Day
There’s something incredibly special about the rhythm of a cozy kitchen, where the aromas of sweets blend with laughter and stories shared around the table. I fondly remember the thrill of baking peanut butter treats with my family—those moments punctuated by the joyful anticipation as sweet aromas wafted through our home. Today, I want to share a recipe that captures that same warmth and love: Peanut Butter Blossom Bars. These delightful treats are not only quick to whip up but also promise to wrap you in a blanket of nostalgia and flavor.
Why You’ll Love This Recipe
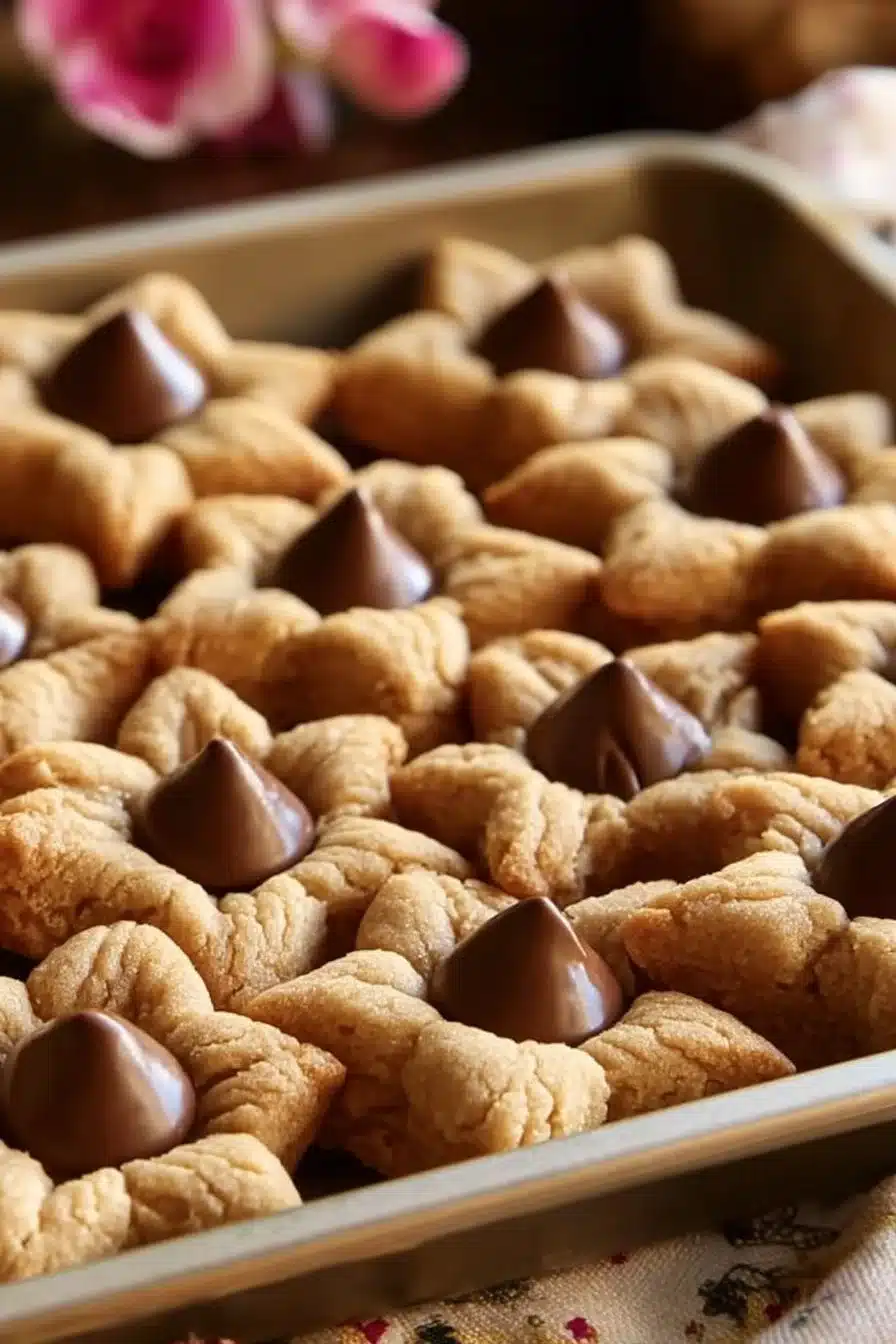
These Peanut Butter Blossom Bars are a celebration of simple joys. The creamy richness of peanut butter, combined with a hint of buttery sweetness, creates a chewy, delectable treat that’s hard to resist. Plus, they’re topped with chocolate candies, adding a delightful crunch and sweetness to every bar. Perfect for an after-school snack, a cozy gathering, or just because you deserve a little indulgence, this recipe is sure to become a family favorite. Here’s why you’ll love making them:
- Quick and Easy: With minimal prep time and straightforward steps, these bars fit perfectly into a busy schedule.
- No Special Equipment Needed: A mixing bowl and a spoon are all you need to create these treats.
- Customizable: You can easily swap in your favorite mix-ins or toppings for a personal touch!
- Fun to Make Together: Invite your kids to help out—baking together is a wonderful way to bond over deliciousness.
Ingredients for Peanut Butter Blossom Bars
Let’s gather the ingredients that will bring our delicious Peanut Butter Blossom Bars to life:
- 1 cup peanut butter (creamy or chunky, your choice!)
- 1/2 cup unsalted butter, softened
- 1 cup brown sugar
- 1/2 cup granulated sugar
- 1 large egg
- 1 teaspoon vanilla extract
- 2 cups all-purpose flour
- 1 teaspoon baking soda
- 1/2 teaspoon salt
- 1 cup chocolate candies (like chocolate chips for a classic touch)
Ingredient Notes
- Peanut Butter: Use your favorite type of peanut butter! Whether it’s creamy or chunky, it will lend a unique texture and flavor.
- Butter: Always use softened butter for that perfect blend with sugars.
- Chocolate Candies: If you’d like to switch it up, consider using white chocolate chips or even sprinkles for added fun.
How to Make It
It’s time to dive into the baking process! Let’s transform these humble ingredients into a batch of comforting sweetness.
Step 1 – Preheat and Prepare
Preheat your oven to 350°F (175°C). As that warmth fills your kitchen, grease a baking dish (a 9×13-inch pan works beautifully). This step is all about setting the stage for the magic that’s about to unfold.
Step 2 – Beat the Butters and Sugars
In a large bowl, toss in the peanut butter, softened butter, brown sugar, and granulated sugar. Use a trusty wooden spoon or a hand mixer to beat them together until the mixture is smooth and fluffy. Picture that creamy peanut butter swirling with the sweetness of sugar—you’re already making magic happen!
Step 3 – Mix in Egg and Vanilla
Now it’s time to add in the egg and vanilla extract. Mix well until everything is perfectly blended into a luscious batter—smooth and inviting. This is where the aromas start teasing your senses, hinting at the deliciousness to come.
Step 4 – Combine Dry Ingredients
In another bowl, whisk together the flour, baking soda, and salt. This key step ensures an even distribution of leavening—no one wants a flat bar! Gradually add these dry ingredients to your wet mixture, stirring gently until just combined. It’s okay if there are a few flour streaks; we don’t want to overmix.
Step 5 – Spread the Dough
Now, grab your prepared baking dish and spread that fragrant dough evenly into it. Use a spatula to smooth the top—it doesn’t need to be perfect; remember, cozy baking is all about the love you put into it!
Step 6 – Bake to Golden Perfection
Slide the dish into your preheated oven and bake for about 20-25 minutes, or until the edges turn lightly golden. Keep an eye on them! The warm aromas should start filling your kitchen, making it oh-so-tough to wait.
Step 7 – Add Chocolate Candies
When your bars emerge from the oven, let them cool slightly (for about 10 minutes). While they’re still warm, press the chocolate candies into the top. This step adds a lovely, melty charm to each square, making them even more inviting.
Step 8 – Cool and Cut
Allow your bars to cool completely before slicing them into squares. This waiting period is crucial. It builds the excitement for that first blissful bite—trust me, it’s worth it!
Tips for Success
- Measure Cup Carefully: Ensure you’re using correct measurements for your ingredients. A kitchen scale can help for precise baking.
- Don’t Overmix: Overmixing can lead to dense bars. Mix until just combined!
- Add Your Touch: Feel free to fold in some chopped nuts or switch out the chocolate for caramel bits or your favorite candy.
Recipe Variations
One of the best aspects of these bars is their versatility. If you’re in the mood to experiment, try these variations:
- Nutty Crunch: Add 1/2 cup of chopped nuts like pecans or walnuts for extra texture.
- Peanut Butter Chocolate Chip: Substitute half of the peanut butter with chocolate spread for a richer flavor.
- Fruity Twist: Incorporate dried fruits like cranberries or raisins for a hint of tartness.
- Festive Fun: For holidays, mix in seasonal sprinkles or colored chocolate candies to make it a festive treat.
- Oatmeal Twist: Replace 1/2 cup of flour with rolled oats for a chewier texture.
Serving Ideas
These bars are perfect for all occasions! Here are some ideas to enjoy them:
- Accompany them with a glass of cold apple juice or a warm cup of milk.
- Serve during family movie night for a cozy treat that everyone will love.
- Pack them for school lunches or road trips for a sweet, energy-boosting snack on the go.
- Pair with vanilla ice cream for an indulgent dessert that will impress guests.
Storage and Freezing
To store your Peanut Butter Blossom Bars, keep them in an airtight container at room temperature for up to a week. If you prefer to save some for later, they freeze beautifully! Simply cut them into squares, wrap each piece in plastic wrap, and place them in a freezer-safe bag. They last for up to three months—perfect for whenever a sweet craving strikes.
Nutrition Facts (per serving)
| Nutrient | Amount | |—————-|———| | Calories | 220 | | Protein | 4g | | Carbs | 28g | | Fat | 10g | | Fiber | 1g | | Sodium | 150mg |
FAQ About Peanut Butter Blossom Bars
Can I use natural peanut butter for this recipe?
Absolutely! Natural peanut butter will work great, although it may change the texture slightly. If it’s runny, consider adding a touch more flour to balance it out.
How do I know when the bars are done baking?
Keep an eye on the edges of the bars—they should start turning golden brown. A toothpick inserted into the center should come out somewhat clean, with a few moist crumbs clinging to it.
What can I use if I’m out of vanilla extract?
If you’re in a pinch, feel free to omit the vanilla extract or substitute it with a small amount of almond extract for a different flavor profile!
How thick should I spread the dough in the baking dish?
Spread it evenly, aiming for about a 1/2-inch thickness. This will give you bars that are perfectly chewy.
Can I substitute peanut butter with another nut butter?
Yes, you can use almond butter or cashew butter! Just remember that consistency may vary, so choose one that spreads easily.
In a Few Words
Baking Peanut Butter Blossom Bars transcends mere preparation; it’s about creating moments rich with flavor, love, and connection. Each bar captures the essence of cozy home cooking, filled with delightful memories and heartwarming skills shared across generations. It’s more than a recipe—it’s a tradition in the making.
Conclusion
As you pull your batch of Peanut Butter Blossom Bars from the oven, let the sweet, nutty aroma wrap around you like a cozy blanket. Each bite invites you to savor the goodness, whether enjoyed solo with a cup of tea or shared with loved ones during a gathering. Remember, in the kitchen, it’s the love and warmth that count more than perfection. So, roll up your sleeves, embrace the joy of baking, and indulge in these delightful, comforting treats. They’re not just bars; they’re little hugs on a plate! Enjoy your baking adventure!