Easy Garlic Parmesan Cheeseburger Bombs: A Cozy Family Favorite
There’s something magical about the scent of warm, buttery biscuits fresh from the oven. Growing up, my kitchen was often filled with the aroma of comfort food bubbling away, a place where family gathered to savor delicious meals and share stories. One of my cherished memories is when my mom would surprise us with cheesy, meaty delights tucked away in golden, flaky biscuits. Today, I’m excited to share a recipe that captures that cozy moment: Easy Garlic Parmesan Cheeseburger Bombs. These delightful pockets of flavor are perfect for a busy weeknight or a weekend gathering, bringing warmth and joy to your dining table.
Why You’ll Love This Recipe
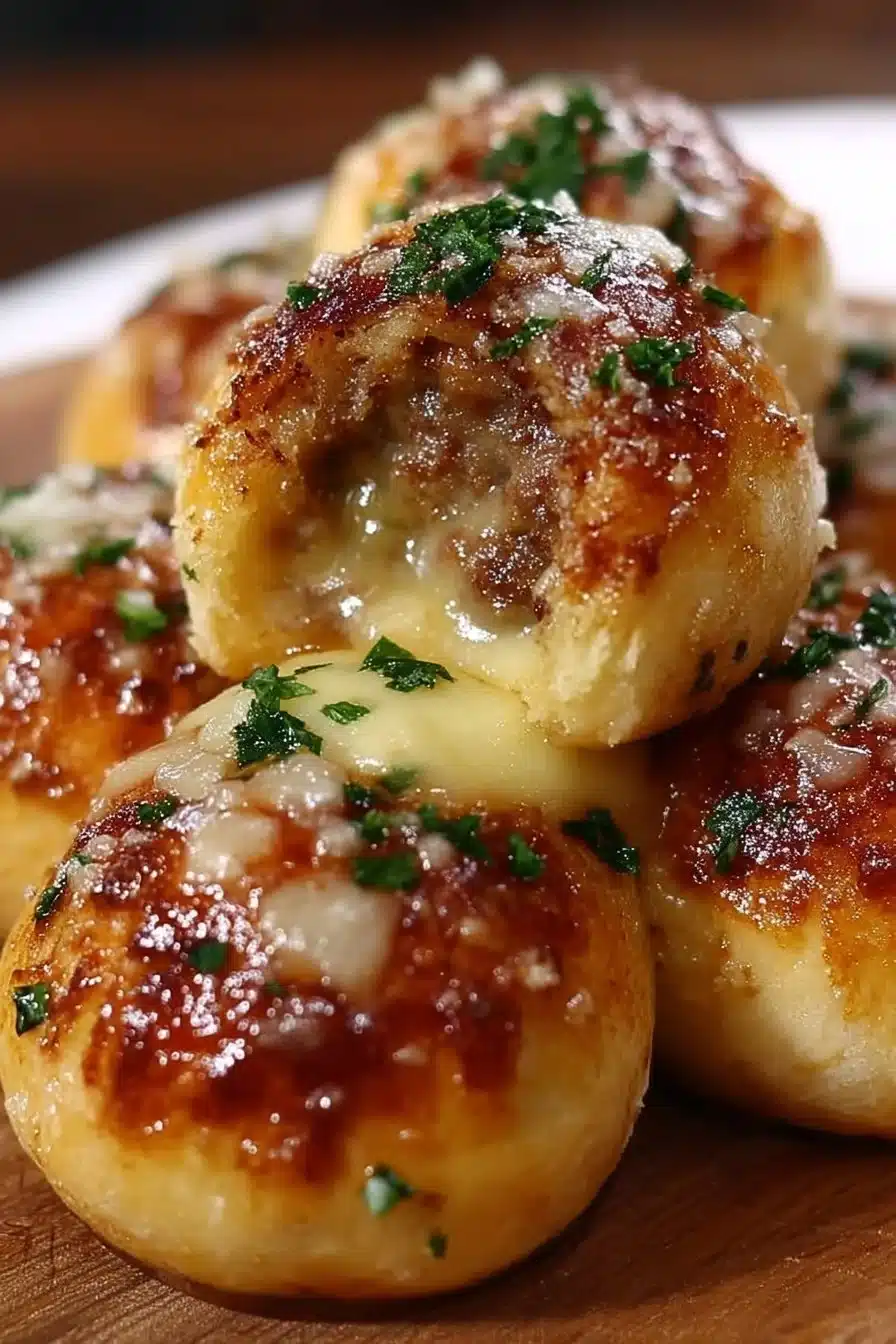
These Garlic Parmesan Cheeseburger Bombs are more than just a delicious snack; they’re an experience! Picture this: a perfectly baked biscuit that gives way to a savory filling of juicy ground beef and melted cheese, all enhanced by aromatic garlic and a sprinkle of parmesan. These little bombs are a combination of comfort food and finger-licking fun, great for kids and adults alike. They are easily customizable, can be whipped up in a flash, and disappear just as quickly as you make them. Gather your family around for a cozy cooking session and enjoy the delight of creating something truly special together.
Ingredients for Garlic Parmesan Cheeseburger Bombs
Here’s what you’ll need to bring these cozy flavors to life:
- 1 pound ground beef (feel free to substitute with ground chicken or turkey if you prefer)
- 1 cup shredded cheddar cheese (or try pepper jack for a little kick!)
- 1 can (16.3 ounces) biscuit dough
- 2 cloves garlic, minced
- 1/4 cup grated parmesan cheese
- 1 teaspoon garlic powder
- Salt and pepper to taste
- Dipping sauces of choice (think ranch, barbecue, or even a creamy garlic dip)
Ingredient Notes
- Feel free to substitute the ground beef with chicken thigh roast or even venison for a hearty twist. If you’re after a healthier option, ground turkey works wonderfully.
- Instead of cheddar, switch to your favorite cheese, such as mozzarella for a gooey texture or feta for a tangy surprise.
- For those avoiding gluten, look for a gluten-free biscuit dough to adapt this recipe without compromising on flavor.
How to Make It
Creating these bombs is as simple as it is rewarding! Here’s a step-by-step guide to ensure your cooking adventure is a success.
Step 1 – Preheat the Oven
Begin by preheating your oven according to the instructions on the biscuit dough package, usually around 350°F (175°C). This step is essential for achieving that golden brown finish we all love.
Step 2 – Brown the Beef
In a skillet over medium heat, add the ground beef. Cook until browned and crumbly, draining any excess fat. The sizzle of the beef in the skillet is a soundtrack to cozy dinners, filling your kitchen with rich, meaty aromas.
Step 3 – Flavor the Filling
Once the beef is beautifully browned, add in the minced garlic, garlic powder, salt, and pepper. Stir well to coat the beef with the flavors. Then, remove the skillet from the heat, and stir in the shredded cheddar cheese until it melts into the hot beef, forming a creamy, cheesy mixture that’s irresistible.
Step 4 – Prepare the Biscuit Dough
Open the can of biscuit dough and separate it into individual biscuits, placing them on a clean surface. Take a deep breath as the warm, buttery aroma fills the air; it’s like a hug right from your oven!
Step 5 – Assemble the Bombs
Now comes the fun part! Flatten each biscuit with your hands, creating a cute little disc. Spoon a generous portion of the beef and cheese mixture into the center of each biscuit. This is where the magic happens—fold the biscuit dough over the filling and pinch it closed tightly to seal.
Step 6 – Bake to Perfection
Place the sealed bombs on a baking sheet lined with parchment paper. For an extra touch of flavor and a beautiful finish, sprinkle the tops with grated parmesan cheese. Bake according to the biscuit dough package instructions or until they are golden brown and puffed up. The sight of these beauties coming out of the oven will make your heart flutter!
Step 7 – Serve and Enjoy
Let your Garlic Parmesan Cheeseburger Bombs cool for just a moment (if you can resist!) and serve them warm with your favorite dipping sauces. The first bite will be filled with cheesy affection, making it a comforting addition to any meal.

Tips for Success
- Seal Well: Ensure that each biscuit is firmly sealed; this prevents any cheesy goodness from leaking out while they bake.
- Customize: Don’t hesitate to add diced veggies like bell peppers or onions to the beef mix for added nutrition and flavor.
- Cheese Swap: Experiment with different cheeses—gruyère or a blend of Italian cheeses can elevate your bombs and keep things exciting!
- Prep Ahead: You can prepare the filling in advance and assemble the bombs just before baking for a quicker prep time during busier evenings.
Recipe Variations
- Spicy Jalapeño Bombs: Add diced jalapeños to the beef mixture for a kick! Pair with a cool ranch dipping sauce for contrast.
- Veggie Lovers Bombs: Replace beef with black beans and add diced tomatoes, zucchini, and corn for a vegetarian option that’s just as delicious.
- BBQ Chicken Bombs: Substitute cooked shredded chicken and BBQ sauce for the beef, adding a sweet twist that everyone will love.
- Breakfast Bombs: Use breakfast sausage or turkey bacon, scramble in some eggs, and replace the cheddar cheese with pepper jack for a delightful morning treat.
Serving Ideas
Garlic Parmesan Cheeseburger Bombs are versatile enough to stand alone or pair with various sides. Serve them alongside a fresh garden salad, crispy potato wedges, or a hearty bowl of tomato soup. For a fun family movie night, stack them on a platter with dipping sauces, allowing everyone to grab and enjoy as they settle in for a cozy evening.
Storage and Freezing
These bombs can be stored in an airtight container in the refrigerator for up to 3 days, making them a perfect leftover treat! To freeze, place the unbaked bombs on a baking sheet until frozen solid, then transfer to a freezer-safe bag. Bake right from frozen, adding a few extra minutes to the cooking time for a flavorful treat whenever you need it.
Nutrition Facts (per serving)
| Calories | Protein | Carbs | Fat | Fiber | Sodium | |———-|———|——-|——|——-|——–| | 290 | 16g | 24g | 15g | 1g | 610mg |
FAQ About Garlic Parmesan Cheeseburger Bombs
Can I make these vegetarian?
Absolutely! You can easily substitute the ground beef with a plant-based meat alternative or use veggies and cheese for a delicious vegetarian option.
How long can I store the bombs?
In the refrigerator, they last up to 3 days. You can also freeze them for longer shelf life—just remember to bake them from frozen, adding a few extra minutes to the cooking time!
What can I use for dipping sauces?
You can use your favorites! Ranch, thousand island, or even a spicy sriracha mayo can elevate these cheesy bites.
Any suggestions for side dishes?
These bombs pair wonderfully with a fresh green salad, crispy fries, or even creamy mac and cheese for an indulgent feast!
Are these suitable for kids?
Absolutely! Kids love the cheesy, savory filling wrapped in a comforting biscuit. You can even let them help with the assembly—cooking together creates sweet memories!
In a Few Words
These Easy Garlic Parmesan Cheeseburger Bombs are more than just a recipe; they’re an invitation to gather, share, and create lasting memories around the dinner table. With every bite, you’ll taste comfort and love, making weeknight dinners feel extra special.
Conclusion
As you prepare to make these warm, inviting Garlic Parmesan Cheeseburger Bombs, I hope you take a moment to enjoy the process. Cooking is about more than just the food; it’s about the connections we create with our loved ones. So, roll up your sleeves, sprinkle some flour, and create new memories in the kitchen, one delicious bite at a time. Happy cooking!
Print
Easy Garlic Parmesan Cheeseburger Bombs
- Total Time: 35 minutes
- Yield: 4 servings 1x
- Diet: Gluten-Free (if using gluten-free biscuits)
Description
A cozy family favorite featuring savory ground beef, melted cheese, and buttery biscuits, these Garlic Parmesan Cheeseburger Bombs are perfect for busy weeknights.
Ingredients
- 1 pound ground beef
- 1 cup shredded cheddar cheese
- 1 can (16.3 ounces) biscuit dough
- 2 cloves garlic, minced
- 1/4 cup grated parmesan cheese
- 1 teaspoon garlic powder
- Salt and pepper to taste
- Dipping sauces of choice (ranch, barbecue, etc.)
Instructions
- Preheat your oven according to the biscuit dough package instructions, usually around 350°F (175°C).
- In a skillet over medium heat, cook the ground beef until browned and crumbly, draining any excess fat.
- Add minced garlic, garlic powder, salt, and pepper to the beef, then stir in the shredded cheddar cheese until melted.
- Open the can of biscuit dough and separate it into individual biscuits.
- Flatten each biscuit and spoon a portion of the beef and cheese mixture into the center. Fold the biscuit over the filling and pinch to seal.
- Place the bombs on a parchment-lined baking sheet and sprinkle with grated parmesan cheese. Bake according to package instructions until golden brown.
- Let cool slightly and serve warm with dipping sauces.
Notes
Feel free to customize with different cheeses or add veggies. Can be prepared ahead of time and baked later.
- Prep Time: 15 minutes
- Cook Time: 20 minutes
- Category: Snack
- Method: Baking
- Cuisine: American
Nutrition
- Serving Size: 1 bomb
- Calories: 290
- Sugar: 2g
- Sodium: 610mg
- Fat: 15g
- Saturated Fat: 7g
- Unsaturated Fat: 6g
- Trans Fat: 0g
- Carbohydrates: 24g
- Fiber: 1g
- Protein: 16g
- Cholesterol: 50mg
Keywords: cheeseburger, snacks, comfort food, family recipe, easy recipes